Lace Fans
Part 3
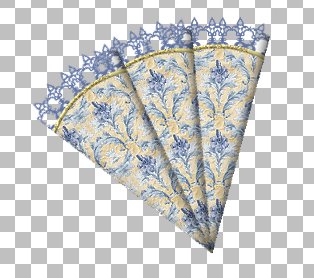
Now to make the fan...
Reduce the size of your fan part by going to
Image..Resize..
and choose 80 % of original. Then go to Image
..sharpen..and sharpen once.
It is very important to sharpen it after you
have reduced it or it will be blurry.
Now..
Open a new image..500 x 500..transparent background.
Copy the fan part and paste on the new image
at about the
350 x 150 marks. Deselect.
Now if you just hit Ctrl E you can paste it
again.
This one you need to keep selected and go
to Image...Rotate..
Left...Free...20. Now go to Sharpen and sharpen
once.
Line it up so that the point is even with
the point of the other part you
have there. Now De-select it.
Now hit Ctrl E again to paste another one ...go
to Image..
Rotate and put 40 in this time. Then sharpen
once and line it up
with the points of the other two. De-select.
See how the points are lined up here.
Just keep doing this , increasing your rotation
by 20 each time
and sharpen each time..till you get to the
rotation of 120.
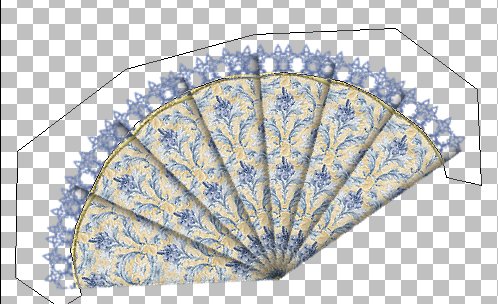
Now use the rectangle selection tool and draw
a box around the
fan...click inside the box, on the fan to
select it..and go to
Image...rotate...Right...Free..40.
Now Sharpen once.
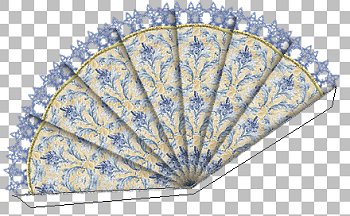
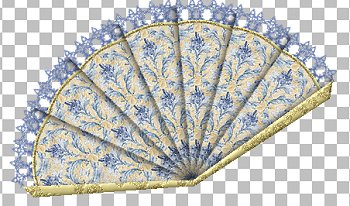
Now you should have this
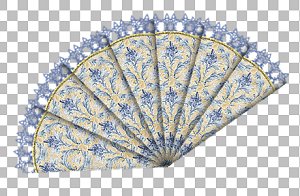
At this point I use my Lasso selection tool..point
to point and
click around my lace part of the fan..then
go to Sharpen and
sharpen once. I do this because the lace is
usually still a little blurry
and this will sharpen it without sharpening
the rest of the image.
Add a new layer
Now..using the Lasso selection tool..select
an area along the bottom edge of your fan.
Like this
Now flood fill with a solid color. You can
add a bevel to it
or use a Blade Pro preset..or use the sculpture
effect on it.
I used the sculpture effect.
With these settings
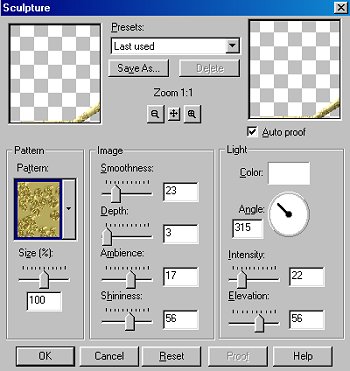
Here is mine
Here is the pattern if you want it..you will
have to open it in PSP
then save it as a BMP file in the Patterns
folder. Then you should
be able to select it in your sculpture effect.

Now...add a new layer.
Use the Draw Preset Shape Tool
set to...circle...filled..antialias checked.
Draw a circle at bottom center point
of the fan ..see the image below.
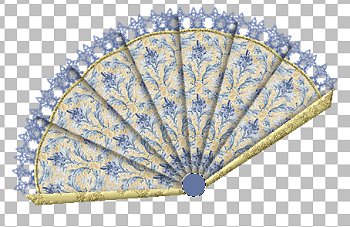
Again..you can use Blade Pro, bevel or sculpture
on it.
Now go to Layers...Merge Visible.
Now..add a new layer
Select the Draw tool and use these settings
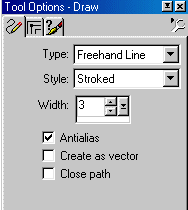
Draw a string hanging from the bottom of the
fan.
You can add tassels if you want.
Next..use the magic wand to select
the string..now add
a slight inner bevel to it if you want.
Now go to your Layers Drop down
it will look like this...see where the Layer
1 is on top of the
Merged Layer ??
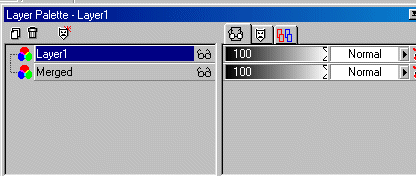
Just click on the layer 1 and hold your button
and drag it below the merged layer.
Then let off the button. This will put the
string layer behind the fan so
it doesn't show where your string meets under
the button.
See now where the Layer 1 is ?
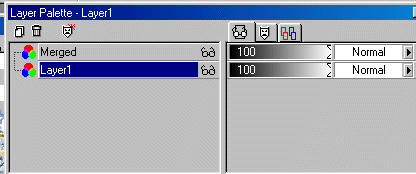
Now just go to Layers..Merge Visible.
Now you can tube it !!!
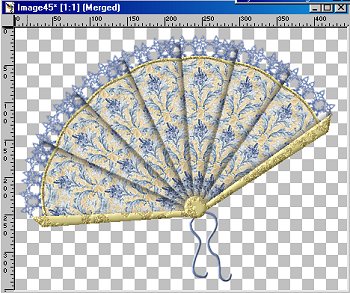
Final Image
This tutorial was written from my own original
idea.
I hope it is easy enough for you to follow..there
are so many more things you can
add to the design..most of it you will learn
just from playing with it.
The PSP Workbench Group has kindly taken the
time to do this
tutorial and the results of their creativity
are so beautiful that I asked
them if I could add a link to their page of
fans they have done.
So if you want to see some of their beautiful
work click on the link below.
And I thank all of them !! *S*
PSP
Workbench Group Fans
Written by Jane Braz
©2000
No part of this tutorial may be posted or
linked to without
written permission.
Email
jbrazeal@hotmail.com