|
|
|
Page 2
Now click on your original image again...the stone should
still be selected
so just hit Delete to get rid of it.
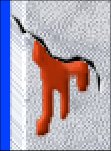
Now select the tube tool and choose the new tube you just
made.
Be sure the Step Size is set to 1
Now click once at the 100x150 mark.
Hold your shift key down and click again on the 105x155
mark.
The marks will decide how deep looking the stone will
look..you can play with these
and get many different looks from it. Just be sure and
hold your shift key down
when you click the second time.
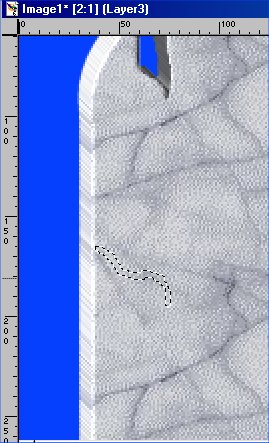
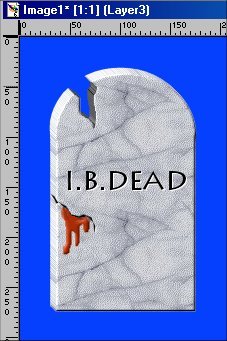
This will give you a 3D looking tombstone.
And many thanks to Fisherman (James) for this tip !!!
Here is what it should look like

To get the cracks in it...Add a new layer and I used my Lasso tool,
set Point to Point
antialias checked..and drew a crack area ..keeping it very close..you
can zoom in to do this
and it is easier. Just try to keep it narrow. and jaggie .
Now just fill it with a solid black color.
Now go to Image...Effects...Drop Shadow..use these settings.
Color White.
Opacity 100
Everything else 1
Here is how it will look.

You can add as many cracks as you want.
And don't forget to do the edge also.
Like this.

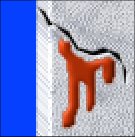
Now if you want to add some blood...
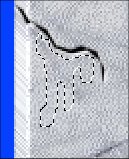
Add another layer..use the lasso tool again, this time set it to Freehand
antialias checked, and start just at the bottom edge of the crack and
draw
the blood . Look at the pic below to see how mine looks. I start at
the left edge
just below the crack and draw down..then circle and back up...then
down again
till I get as many runs as I want..then I go back along the top toward
the left
till I get back to where I started. Be sure and don't get into the
black crack when you are going back
along the top.
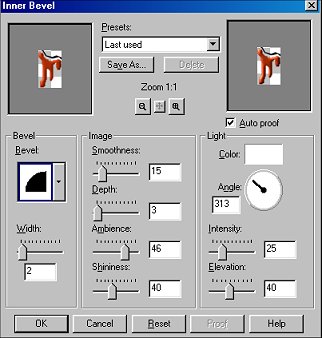
Now fill it with red color and add a slight inner bevel if you want.
My bevel settings were
Now...select the Retouch tool..it is the one that looks like a pointing
finger.
Set it to Push and use these settings.
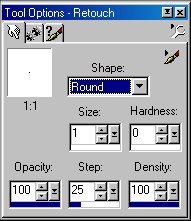
Zoom in to your blood and use the push tool to push the red up to the
black crack.
Be careful not to cover the black with it..just push up TO the black..getting
rid of all the color in between.
Like this.
Before
After
Now for the text...choose the font you like best..I used one called
Lithograph, size 22...color Black.
After you type your text..place it where you want it on the stone...
keep it selected and go to Image...Effects...Drop Shadow
and use ... Color White
Opacity 100
Everything else set to 1
This gives the text the carved look.
If you want you can add dingbats to it...I found some really neat
bat dingbats that I used..and also some creepy bugs.
Now you can Delete the background color layer by dragging it up to the
trash can.
To do this..go to your layer drop down box...click on the bottom layer..hold
your button
and drag it up to the little trash can in the top left corner.
Merge your other layers..go to Layers...Merge Visible.
Now copy and paste as new image and tube it !!!
For some ideas on different tops...go on to the next page.